Are you celebrating Chinese New Year?
I got inspired and now have some colourful craft idea here for you :)
Why don't you take out some wrapping paper and craft stuff to make Chinese dragon to be waved in the air!

Here's what you need to make it happen,
the stuff are usually around the house if you are parent ;)  

 On top of this the glue gun is essential and sellotape will be handy too!

Step 1.

Lets start with the head...


Step 2.

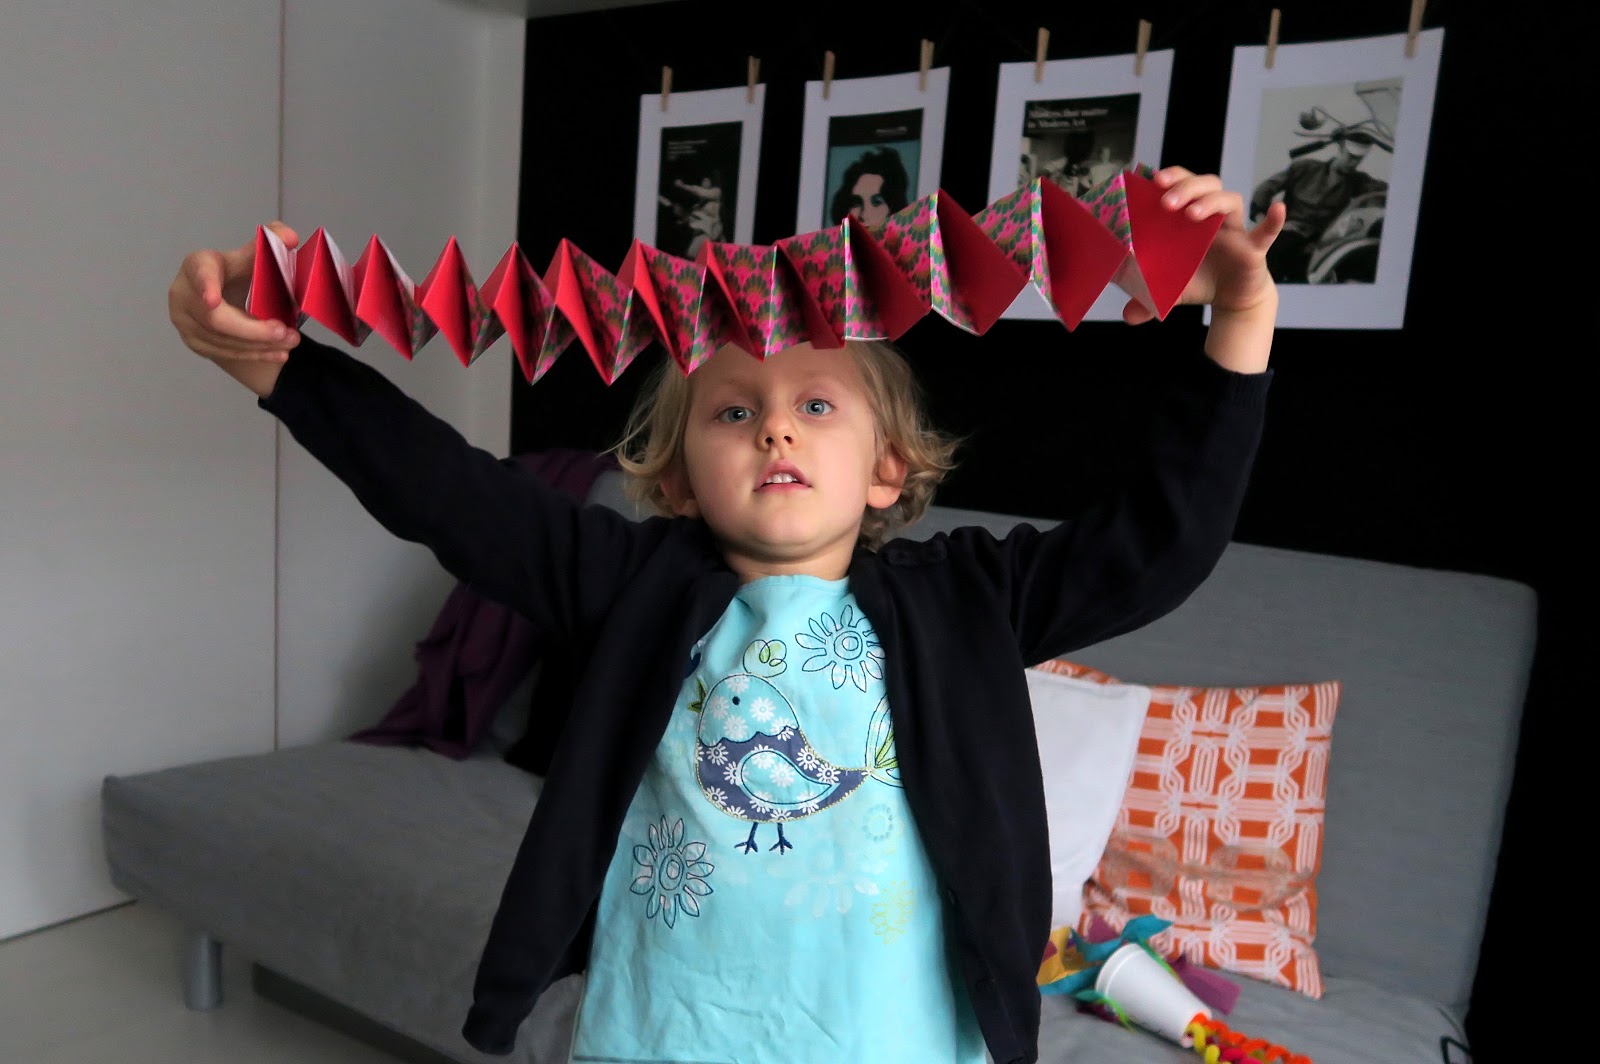
Now lets make a body.
Remember Christmas tree chains made of paper?
This is one of them.
Ela is showing you how to do it :)


Remember to start with two widest strips of contrasting paper!


It suppose to look like this when you unfold it, nice :)


Step 3.
Is time to make a tail out of tissue paper, it will nicely flows in the air.
Cut the strips and glue it to the narrow end of the body.


Yep, happy with a tail :)


Step 4.
Attach the wooden peg to a widest end of the body, then glue it inside the cup head of the dragon, it is easier then without ...


The result after gluing body with the head, happy :)

 Step 5.
It's now time to make a holder stick using two bamboo sticks.
Make a holes at the bottom of the head...


Insert some tissue paper in first...


then sticks and more tissue paper again, it will prevent them from moving around.


Now wrap the ends with tape of your choice.


                                                 Tada!
             This is the colourful result of our work!


 We test one of them outside too, unfortunately Ela run too fast to catch the lovely wave of a tissue tail with my camera :) 


                                     Happy New Chinese Year!        


Today something simple, bold and not too serious again :)
I made some printable graphics for you to print for free!
If you a fan of modern and stylish design then make a good use of that printer near you.
And if your love for cats is as big as mine there's something waiting too:)They will look great as A4 and card size in frame or use it to create some good looking quick greeting cards.

I hope to hear from you, let me know which is your favourite ;)

Just click the link below chosen graphic.

KISS ME

SMALL
 

SMALL
SMALL


MEDICINE

MEDICINE
CAT LOVE

CAT LOVE

KISS ME
CATS

CATS
ANARCHY
ANARCHY
DOUGHNUTS
DOUGHNUTS


Enjoy!


Not everyone is celebrating Valentine's Day, some of us even hate all the cuteness and pink sugar shouting from the shops.
Right?
We used to tolerated without celebrating, just as ordinary day it did past in our calendar.
Then our daughter appear and something has change in my heart :)
I kind of started to appreciate the love I have, the love We've got.
We are not buying red roses or big heart-shape cakes but giving little things we write, draw or made ourselves with a little help of cheap tiny gadgets and maybe a bottle of nice wine.
Well, I do with Ela's company cos my husband did not change his mind yet :D


This year I decided to introduce to you a little easy idea you can personalize yourself, the
                         
Matchbox love notes.
You might have seen them before, I did many times and get absolutely in love with.
Today I am doing my own version :)

They can be use for grown ups, kids, given to your mum or dad.
Matchbox is ideal for symbolic not-too serious inexpensive gifts.

Anything small and cute will do :)
Love notes, funny drawings, sweets or jewellery for adults and even more for kids.

For those with printer on hand I made some simple printable wrappers and note cards to make things easier ;)
  
You can design your own with Canva -great easy software, or use mine instead by clicking the links below each image.


Just click the links below the images.
WRAPPERS


WRAPPERS


NOTES


Have a look and get the inspiration!


Step 1.
Materials


plus glue or double sided tape.
I use glue stick for this one;)

Step 2.
Wrap your matchbox.
With my free printable wrappers or anything you want :)


Graphics are not the matchbox size but is not hard to make it fit ;)
Safe the leftover cuttings for later!


Step 3.
Write the note on the card and glue it into matchbox insert.


Then fold the way you want to fit in, ideally leave the image on top.


This is the whole bunch :)


If you are really fussy about little finishing touches like me then this it the time for the leftover cuttings, I use them for the edges of the inserts ;)


Step 4.
Fill match boxes with little treats/gifts.


 It's just a brief idea of course, you can put there anything you want...as long is small enough :)
Step 5.
Tie them up.
You don't need to, I did some to have more fun.


This is it!
Cute, tiny... how not to love them?


Even more with a bottle ;P

Printable wrappers can be use for bigger gifts too...


Like a bar of chocolate :)
I use half a page for this one.


Ela decided to make one for her friend at school who will soon move to different part of London...


Aww :)


         Go on, buy some matches and                     transform those boxes today!