
It's coming to an end of school this month here in UK.
Like every year we made new THANK YOU cards for teacher and assistants to appreciate the work they do.
Today we're about to share my latest idea for such card using few different materials but easy at the same time.
There's part for kids and yourself to get arty ;)
So we created beautiful mixed media trees with the sign saying a classic "Thank you for helping me grow".
Lets have a look what did we use for this project!
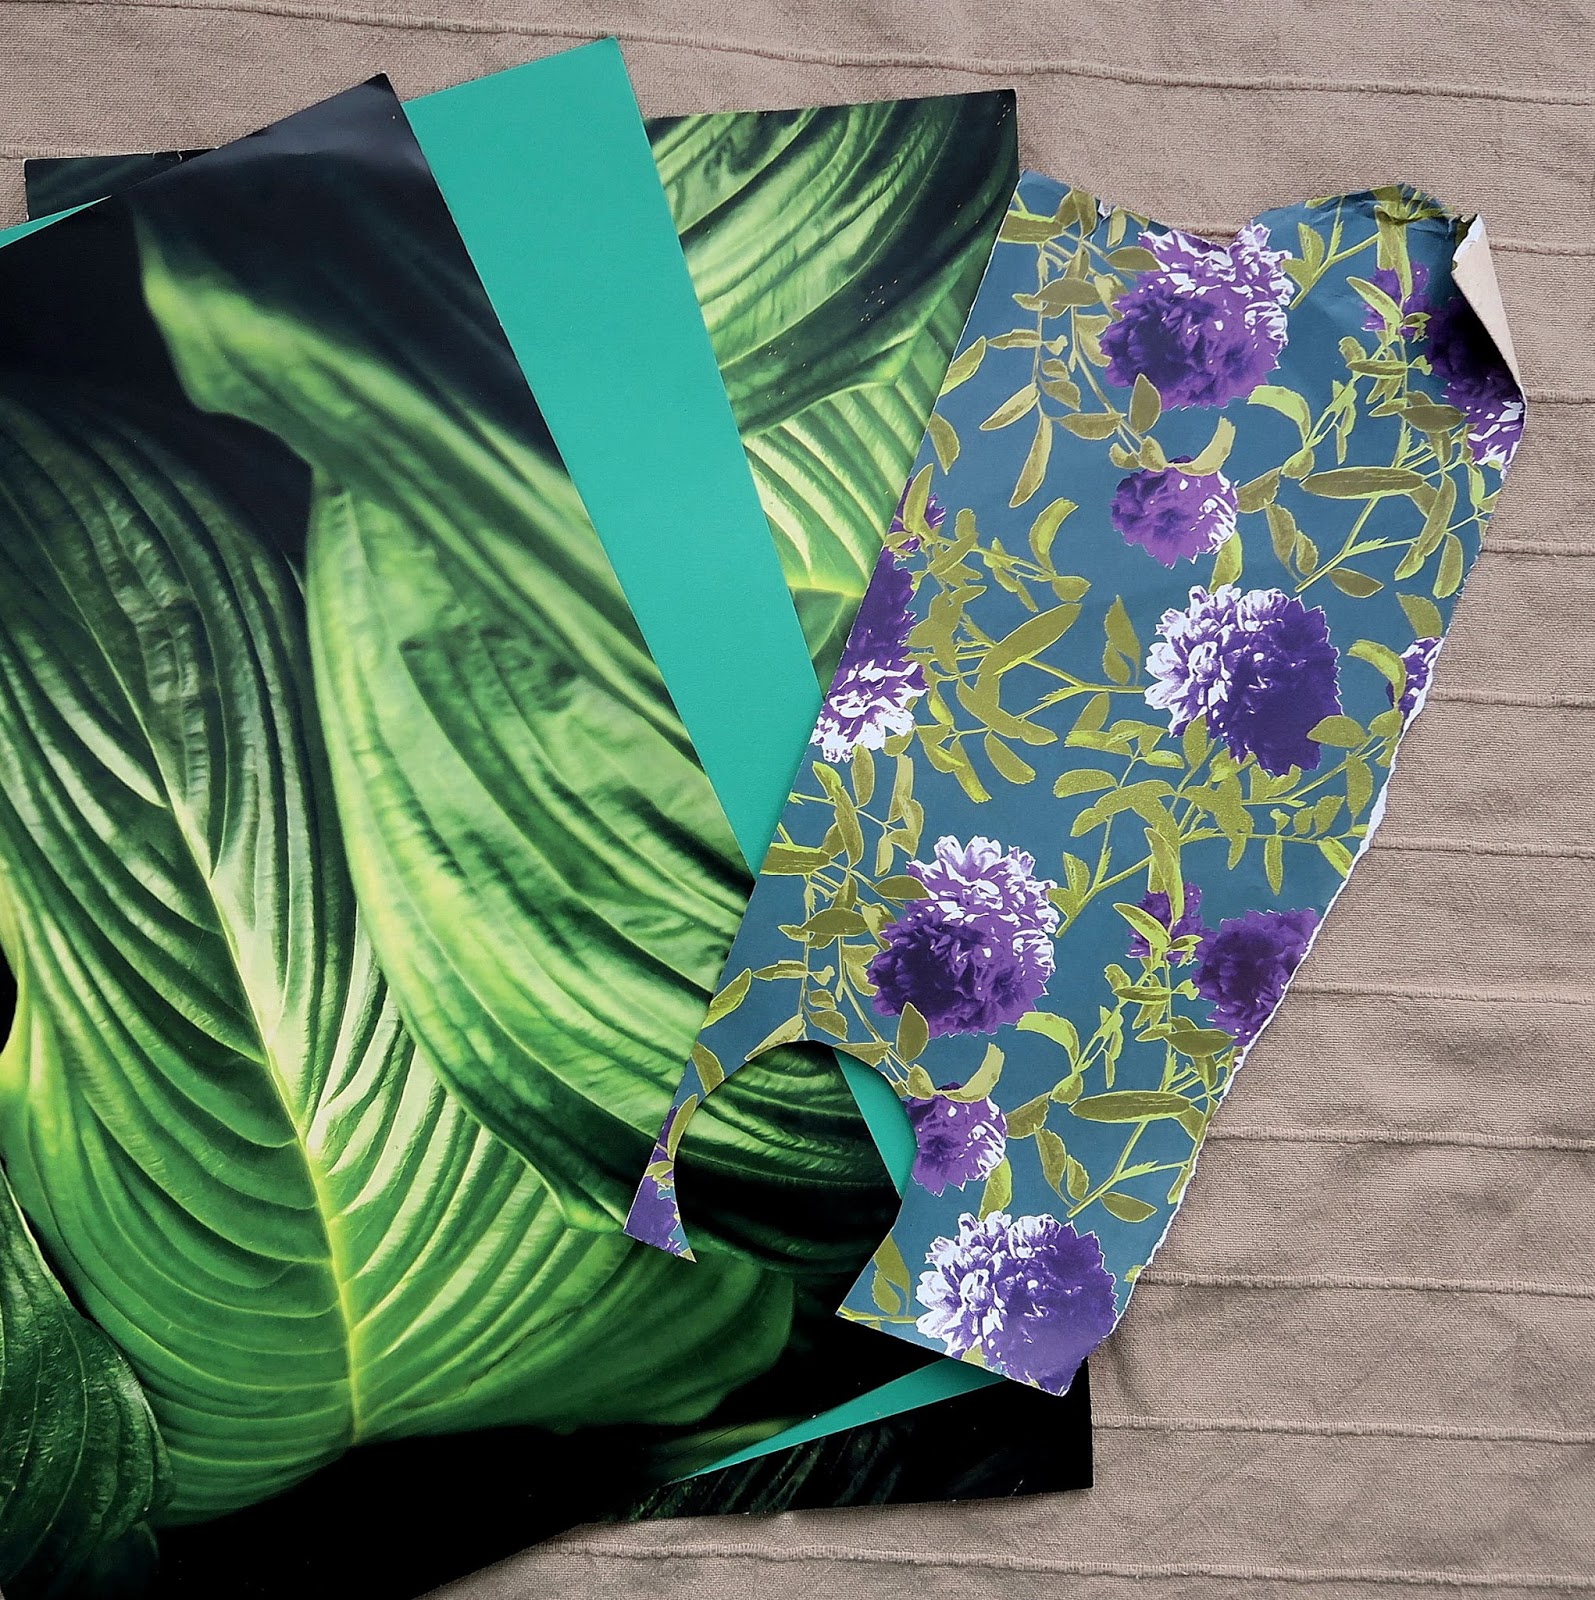
For the leaves of the tree I decided to go crazy with the patterns yet keeping the green pallete.
I actually ordered some wallpaper samples.
I do that from time to time when need something extra special ;)
Wallpaper Direct have a huge range to choose from, two A4 samples are free then £0.50 each.
Absolutely worth it!

Some came with the texture too!

- blank greeting cards
- tree bark
- colored cotton thread
- gold metallic pen
- black fine pen
- scissors
- PVA glue
- hot glue gun

This project it's also a great occasion to get into nature again and talk about different kinds of trees and collect the bark from underneath.

Cutting out leaves.
Many patterns, many sizes...

They're looking best with that crease in the middle ...

and to get that effect simply fold paper then cut out your shapes.
I'm sure you knew that already :)
Step 2.
Cut out the base for a tree limb from a thick card using glass.
Ela was happy to hear it doesn't have to be too neat as the leaves will cover all.

Step 3.
Using PVA glue (kids option) or hot glue gun (adult option) attach the leaves starting from biggest, going round...

and round into the middle to cover the base.


Aren't they pretty?
We mixed in a dash of pink and purple ;)
Glue the leaves only on their bottom part so they stick out .

Step 4.
Make the signs.
I cut out little rectangles out of a card and drew gold frames at the edges.


Step 5.
I attached the leafy limbs onto cards using hot glue.

Step 6.
Attaching signs onto bark (tree trunk).
First I wrapped a cotton threads around...

Remember to lay the sign upside down, it will be then turned over when attached ;)

Step 7.
I attached the trunks onto cards with hot glue gun, there's no other option in this case as the bark pieces are chunky and rough.

We think they're gorgeous!


Get your child to finish the sentences and draw a picture :)


Simpy click on the link below the image.
 |
| THANK YOU |
I packed the gifts in simple brown paper bags and clipped the cards with wooden pegs.
We've made bath salts too, but that's some other time soon ;)


I'm looking forward to hear what do you think :)
Have a wonderful crafting
and enjoy the Summer brake!


