
What about your children , did they had a great time during Summer ?
I am sure most of them are still saying "I wish to be there now again", right?
Well , this is possible...in some way ;)
Memory jars are great way to create that feeling!
Small children's memory is not yet well developed so this will keep them remembering special moments better by more physical way then photographs , especially those saved on our computers ;)
If your children kept some little treasures this holidays then this activity will be perfect!
It can be anything small , all sort of tickets and passes , sand and shells from the sea side trip , tree cones , rocks , souvenirs and more...
We travelled to Morocco in April this year , the trip of the lifetime for our 5 years old Ela for sure :)

I noticed she already forget some moments and her little souvenirs get lost around the house.
Thinking about it other day I decided to look for the lost treasures...It took me two hours to find it all :)

The hand crafted wooden chess piece given to Ela by local artisan to bring her luck.
.A darker one she founded on the street. Hamsa hand bracelet gifted by a salesman.
 Moroccan money and more :)
Lets start then!
Materials needed to make Vacation memories jar :
- jar (any size)
- little souvenirs , tickets , treasures
- 2 printed vacation photographs
- any type of strings matching the vacation theme
Step 1.
Gather all your treasures.

Look for the jar.
I choose a large coffee jar, I keep saving each one for the future needs ;)

I also choose my strings, matching colourful Moroccan theme and some padded double sided tape in case of sticking anything to the base of the jar.
I also decided to hang few objects from the lid of the jar using fishing line and paper clips.
Step 3.
Choose two photographs from the pile of all the photos or print them from your computer.

We have plenty , the choice was hard ;)

I choose us, this one will be seen as a whole and patterned floor as a background for the objects in our jar.
Stick the photos together and insert into the jar.

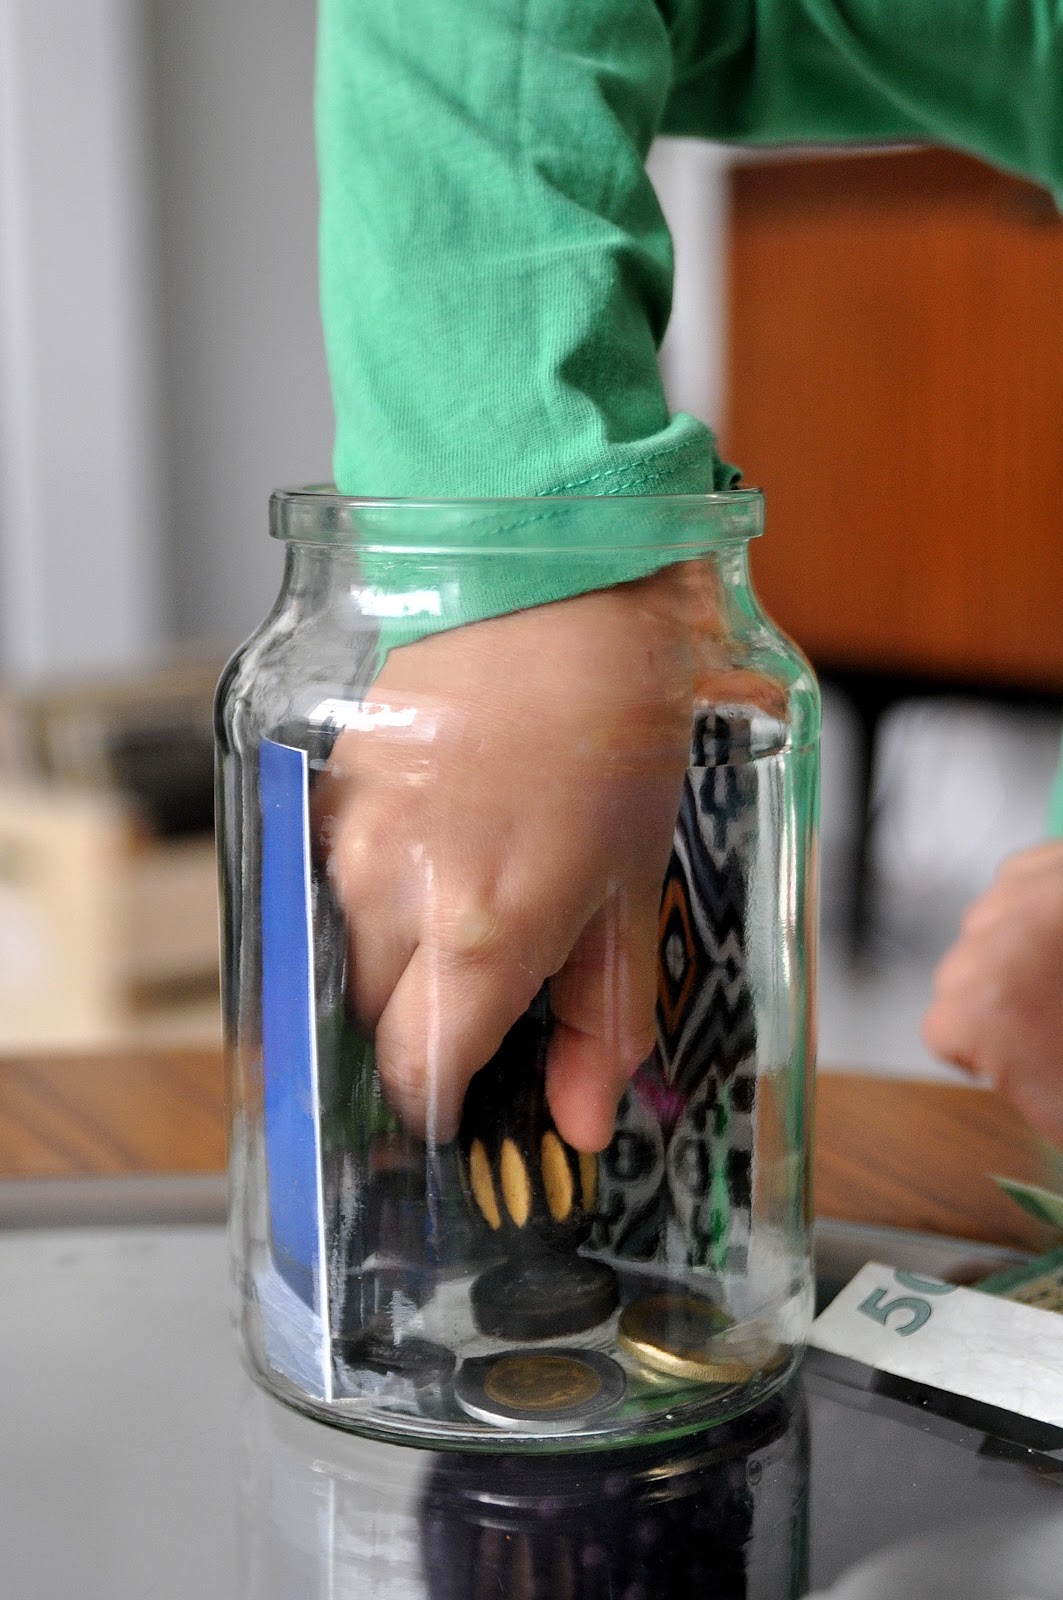
Step 5.
Now stuff that jar with all your memories :)
The nice part of that activity was to talk about every object again and see what she remembered.


We then stuck one of the chess to the base of the jar...

 We also added some spices to very small cello bag so we could fit a sample into the jar.
Maybe you can do the same with some pieces of dry lavender or just add some home fragrance oil like ocean smell if your jar is about the sea trip , or a pine tree smell if you explored the woods ;)
Body Shop have some good selection of those.

As I mentioned before I thought of hanging few objects from the lid of the jar...


This type of coffee jar is perfect , with plastic part where I made holes with paper clips and treated as a hangers.


Is time to close it!
Step 6.Wrap around the strings.

I couldn't make up my mine and I used all six colourful strings ;P


so I could make a nice thick braid.

Which I tied around.
Step 7.
Enjoy your memories, now in one place :)


Meanwhile looking nice on the shelf ;)
Why not to add the label with the place and date of the trip or just use a Sharpie markers to write that on the jar ;) We just played simple.
I hope this post will give you an idea of making memory jar with your children, they should enjoy this same as you :)
Please do send us a photo of your finished work!
You can send one to my Facebook page ;)
Happy making!


 What about your children , did they had a great time during Su...)
Fab idea and beautifully presented!
ReplyDelete