
The Halloween is approaching and we're crafting again!
Ela has started to ask if we going to make anything, sure we do :)
Our easy Pompom Spiders is a great cute way do make a home decoration, accessory and toy at the same time!
I love making pompoms but this time I wanted Ela to learn how to make them too.
Usually I use my fingers ( have a look here ) to create them but to make it easier for Ela we use this :)


Here Ela is greeting you and is ready to start our tutorial ;)
Materials we use for Pompom Spiders are:

Along with scissors and hot glue gun of course :)
Lets begin!

First is pompom making...

Trim a pompom when you done.

Now, spider legs.
You will need 6 pipe cleaners...

then connect them into pairs to end up wit 3 long ones.


We then make a base for spider's body, this way it will be easier to attach them into walls, door ets.

Legs are going through two cuts in the circle.

For spider's eyes Ela choose blue...wondering why :P

She then cut out a pair of sparkly eyes and black eyelids which she glued on top.

Next was attaching eyes and body to base using hot glue.

Ela then gathered 6 hama beads for the legs, this will make them look more friendly ;)

While she took a brake I bend and shaped all spider's legs.


Now was Ela's turn to finish off with a beads.


We then make a smaller spider and use toilet paper roll for a pompom body.

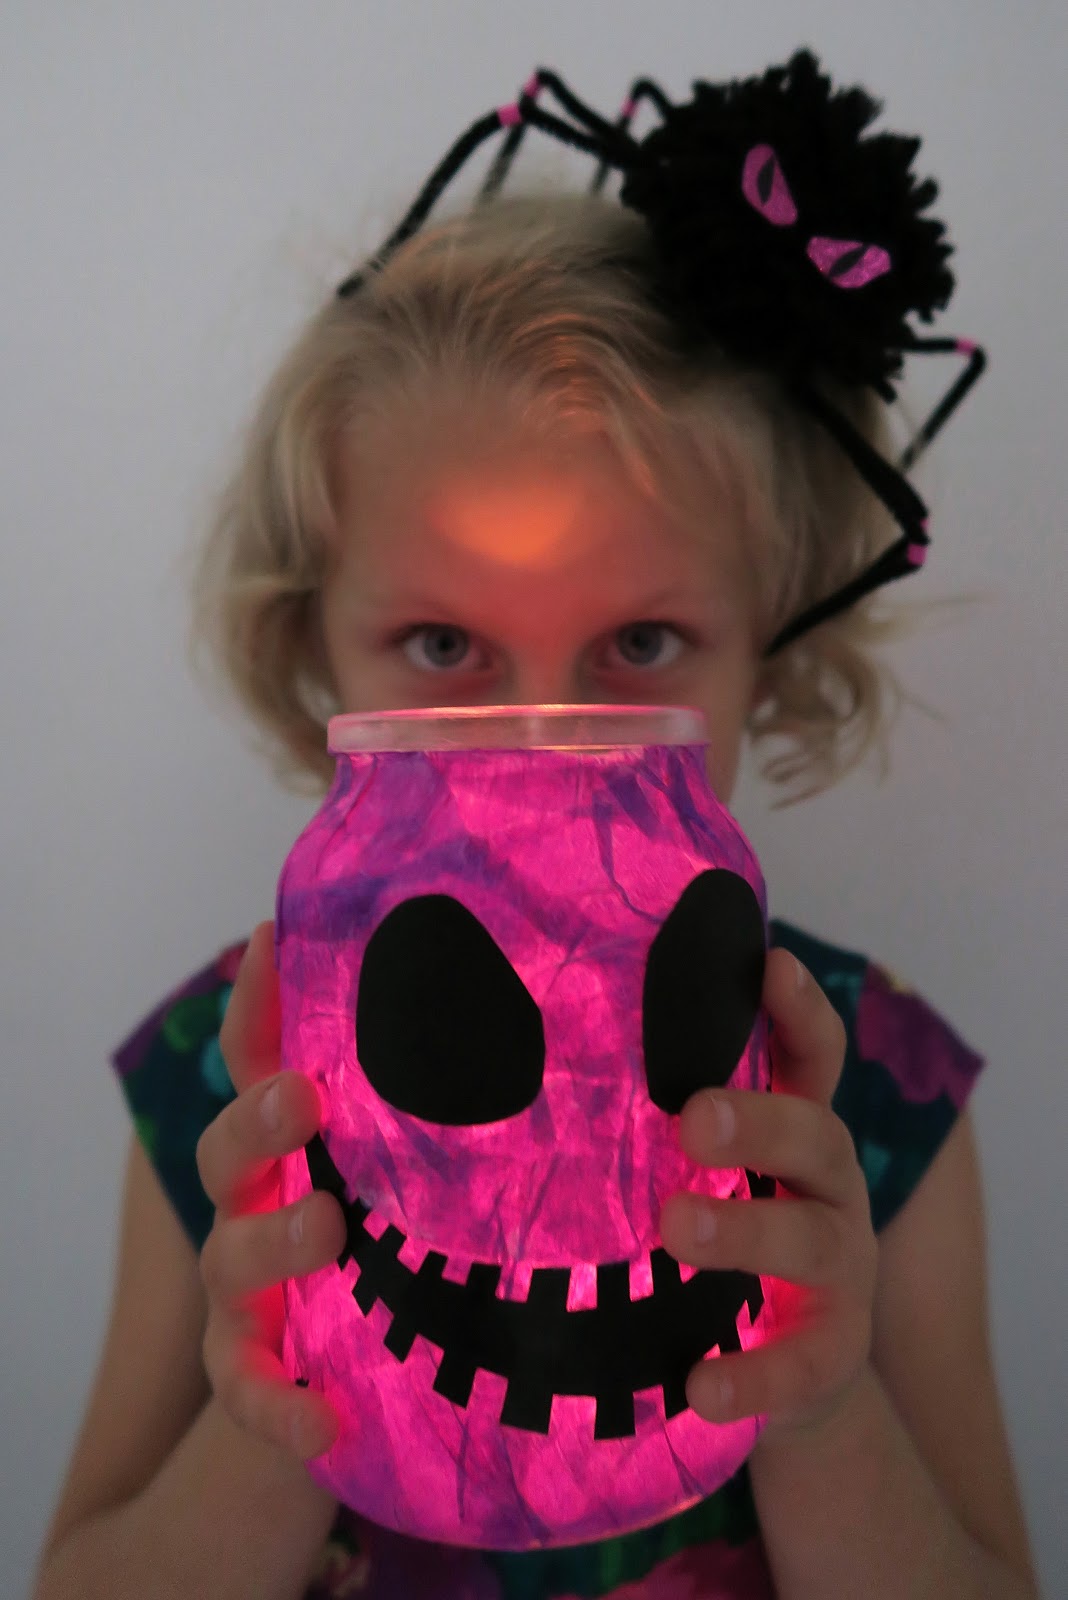
This time I attached crocodile hair clip so Ela or me could wear it too :)

They're looking awesome on the wall!

You can use blue tack or double sided tape, all deepens on how do you feel about condition of your wall.
I use the first one.


Spiders can make a fab dinner table decoration at the Halloween party, be hang or attached to your front door...

Or be a fabulous Halloween headpiece :)


Enjoy!


